The Definitive Guide to Shredding Soy Curls
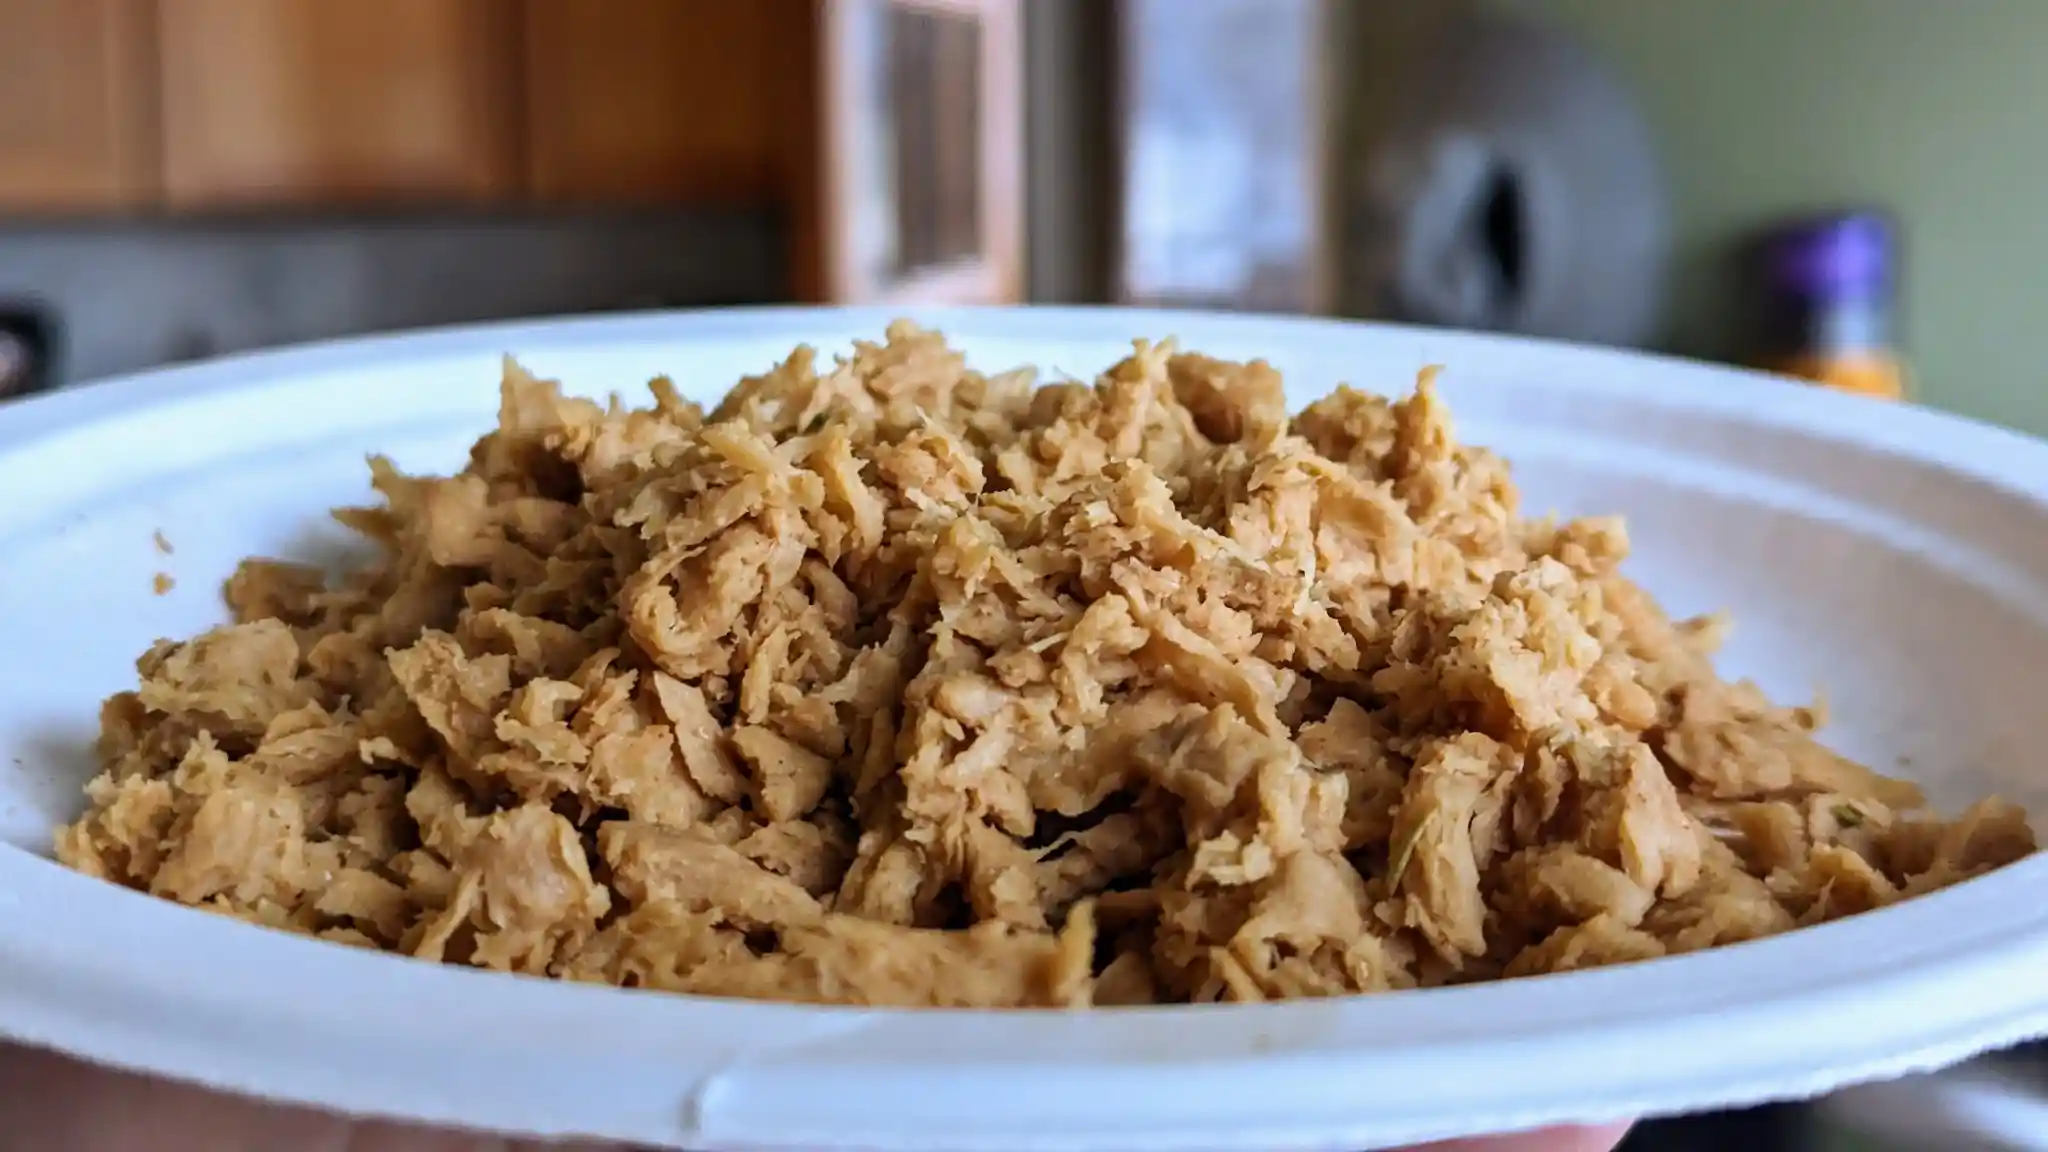
Shredding soy curls is the barrier between "good" and "meaty" texture. The problem is that the traditional method of pulling them apart with two forks doesn't work well. Instead of shreds, you get chunks.
To get that authentic fibrous texture, you need to use the right mechanical force. Here are the definitive methods to becoming a master shredder.
What to Avoid
Before we start, let's cover why your previous attempts might have failed.
- The Food Processor (S-Blade): Great for mincing, terrible for shredding. It turns curls into mince rather than fibers.
- The Two-Fork Pull: The classic method generally rips the curls into large chunks rather than long shreds.
The 5 Methods That Work
Ranked from manual labor to maximum efficiency.
1. Hand Shredding
Best for: Small batches and control freaks.
If you want total control over every strand, this is the way. It takes time, and it works, but it is slow.
- Equipment: None.
- Steps: Rehydrate, cool, and pull strands apart using your dominant thumb and index finger.
- Pros: No equipment needed.
- Cons: Incredibly slow.
2. The Pasta Maker Method
Best for: Thick, uniform "Fajita" strips.
- Equipment: Pasta Maker with spaghetti attachment.
- Steps: Feed rehydrated (but not dripping) curls vertically into the cutters.
- Pros: Very consistent, thick shreds. You get a pasta maker!
- Cons: A pain to clean; dangerous for fingers.
3. The Rolling Pin Method
Best for: Deli-style "Shaved" Meat (Gyros, Shawarma, Shaved Beefy Strips, Sandwiches).

This is my secret weapon. Unlike other methods that pull the fibers apart, this method compresses them. By rolling over the curls with heavy pressure, you flatten them into ultra-thin, dense sheets before they separate. The result is a "shaved meat" texture that piles high on sandwiches like nothing else.
- Equipment: Classic Rolling Pin
- Steps: Place rehydrated curls on a sturdy board. Press down hard while rolling back and forth until the curls flatten and separate into ribbons.
- Pros: Creates a unique, dense, "shaved" texture.
- Cons: Requires significant elbow grease.
4. The Blender Method
Best for: Speed and Taco Shreds.
The gold standard for efficiency, popularized by Julie Hasson.
- Equipment: High-Speed Blender.
- Steps: Drop a handful of rehydrated curls into the blender. Cover. Pulse 2-5 times. Do not run continuously.
- Important:Never reach into a blender while the pitcher is sitting on the base.
- Pros: Incredibly fast; creates a fine, fluffy, fibrous texture.
- Cons: Easy to over-process into mince if you aren't careful.
5. The Stand Mixer Method
Best for: Bulk Meal Prep.
- Equipment: Stand Mixer with paddle attachment.
- Steps: Toss rehydrated curls in the bowl, cover the opening with a towel (they will fly!), and beat on high until shredded (30-60 seconds).
- Pros: The only sane way to shred 2+ bags at once.
- Cons: Requires heavy equipment.
The Verdict
Make the method match the meal:
- Making a Reuben or Gyro? Use the Rolling Pin for that thin, shaved texture.
- Making Tacos or Stir-fry? Use the Blender for speed and fluffiness.
- Making A Big Batch? Use the Stand Mixer for bulk shredding.
- Making A Tiny Batch? Use Your Hands for simplicity.
- Making Fancy Fajitas? Use the Pasta Maker for thick shreds.